
How to Prepare Award Folders for Any Ceremony

TL;DR:
- Proper preparation of award folders ensures each recipient receives a professional and damage-free certificate. Selecting the right material, size, closure, and customization enhances presentation and durability for any event. Accurate assembly, labeling, and staging prevent errors and help organize ceremonies efficiently.
Preparing award folders is defined as the full process of selecting presentation materials, designing credible certificates, assembling documents in order, and organizing folders for efficient distribution at a recognition event. Done well, this process protects each certificate, reflects your organization’s professionalism, and ensures every recipient receives their award without confusion or delay. Whether you are coordinating a school graduation, a corporate recognition dinner, or a government commendation ceremony, the steps are consistent. This guide covers every stage, from choosing folder materials to ceremony day logistics, so you can walk into any event fully prepared.
What materials and folder types are best for award folders?
The folder material you choose determines both the durability of the presentation and the impression it leaves on recipients. High-quality certificate folders use sturdy cardstock or leatherette materials and can feature embossing and foil accents to improve appearance and durability. Cardstock folders are cost-effective for large events with hundreds of recipients. Leatherette folders carry a premium, heirloom feel that suits executive awards, retirement recognitions, and formal academic ceremonies.
Folder size and fit
Size compatibility is the most overlooked detail in folder selection. A4 certificate folders are designed for ISO 216 size (210 x 297 mm) documents, commonly used for certificates. If your organization prints certificates on letter-size paper (8.5 x 11 inches), an A4 folder will not provide a proper fit. Measure your certificate dimensions before ordering any folder, and confirm the match with a physical sample when possible.
Closure types and interior features
The closure mechanism affects how safely a certificate travels from storage to the recipient’s hands. Folders with magnetic closures or tuck-in flaps protect documents and allow safe insertion and removal without damage. Magnetic closures work well for formal ceremonies where presenters handle folders repeatedly. Tuck-in flaps are a reliable, lower-cost alternative for high-volume events.
Interior features matter just as much as the exterior. Look for folders with inner slits or pockets that hold the certificate flat and prevent it from sliding during handling. Some folders include a ribbon or spine detail that adds a finished look when the folder is opened in front of the recipient.
Customization and branding
- Logo or emblem printing: Adding your school seal, corporate logo, or organization crest to the cover transforms a generic folder into a branded keepsake.
- Foil stamping: Metallic foil in gold, silver, or custom colors adds prestige and catches the eye during presentation.
- Color selection: Match folder color to your organization’s palette for visual consistency across the ceremony.
- Pre-phrased text: Options like “Certificate of Achievement” or “Diploma of Graduation” printed on the cover save design time and reinforce the folder’s purpose.
Pro Tip: Order one sample folder before committing to a bulk quantity. Confirm that your certificate fits the interior, the closure functions smoothly, and the printed logo aligns correctly with the cover design.
How should award certificates be designed for credibility and clarity?
Certificate design determines whether a document feels official or forgettable. Official-looking certificates derive credibility primarily from a seal or crest and authorized signatures more than decorative elements alone. A well-designed certificate communicates authority at a glance, which matters when recipients display it in an office, classroom, or home.
Follow this hierarchy when laying out certificate content:
- Award title: Place the name of the award at the top in the largest, most prominent typeface. This is the first thing the recipient reads.
- Recipient name: Display the full name in a clear, elegant font directly below the award title. Use a size that commands attention without crowding the layout.
- Reason for the award: Include a brief, specific description of the achievement. “For outstanding academic performance in the 2025–2026 school year” is more meaningful than a generic phrase.
- Issuing organization: State the name of the school, company, or institution conferring the award.
- Date: Include the full date of the ceremony or the date the award is conferred.
- Authorized signatures: Provide at least one signature line, ideally two, from recognized leaders such as a principal, dean, CEO, or board chair.
- Seal or crest: Place an embossed seal or printed gold disc near the signatures. This single element does more for perceived authenticity than any decorative border.
Choosing the right design tool
Common tools for certificate design include Canva for templates, Word or Google Docs for mail merge bulk generation, and InDesign for polished layouts. Canva is the fastest option for small batches and offers pre-built certificate templates that look professional with minimal adjustment. Word’s mail merge function is the most practical choice when you need to generate 50 or more certificates with unique recipient names and dates. Adobe InDesign gives you the most control over typography and spacing, making it the right tool when the certificate will be printed at a commercial print shop.
Lock your design template once it is finalized. Create fillable fields only for the recipient name, date, and any variable text. This keeps every certificate visually consistent and prevents accidental changes to borders, fonts, or seal placement. For guidance on cover design that complements your certificate layout, the certificate cover design guide from Wehonoru walks through each visual decision in detail.
What is the step-by-step process to assemble and organize award folders?
Assembly is where preparation becomes tangible. A clear sequence prevents damage, reduces last-minute scrambling, and gives presenters confidence at the podium. The educational certificate display process follows a similar logic: verify, insert, organize, label, and stage.
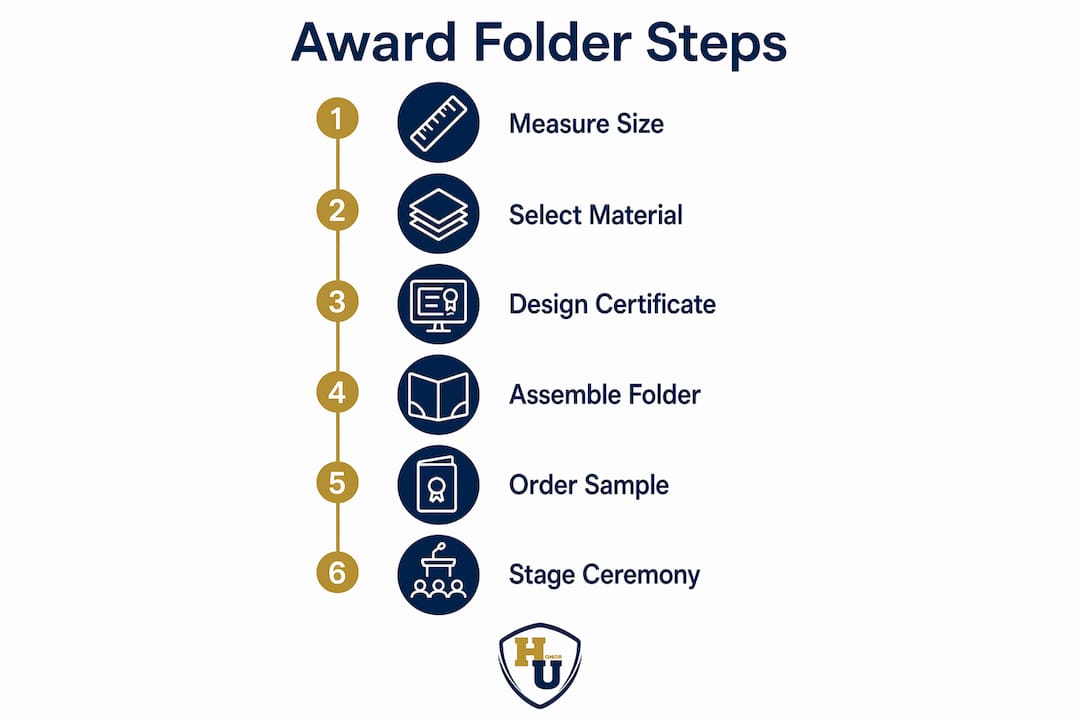
- Verify size compatibility. Before touching a single certificate, confirm that your folder dimensions match your certificate dimensions. Place one printed certificate inside one folder and check that it sits flat, does not fold at the edges, and opens cleanly.
- Print and proof all certificates. Print the full set and review each one for spelling errors, incorrect dates, and font inconsistencies. A misspelled name discovered during the ceremony is far more damaging than one caught the day before.
- Insert certificates carefully. Slide each certificate into the folder’s interior slits or pocket with the printed face toward the front cover. Handle certificates by the edges to avoid fingerprints on the surface.
- Label each folder. Attach a small, removable label to the back or spine of each folder with the recipient’s name and their position in the presentation order. Use a consistent format, such as “14. Jordan Williams,” so presenters can locate any folder instantly.
- Sort by presentation order. Arrange the labeled folders in the exact sequence of the event program. Preparing award materials by presentation order and using clear identification reduces mix-ups and increases ceremony efficiency.
- Pre-stage by section or table. If your event has multiple award categories or seating sections, group folders accordingly and place them at the correct presenter station before the ceremony begins.
Assembly reference table
| Step | Action | Key detail |
|---|---|---|
| 1. Size check | Test fit before full assembly | Confirm certificate lies flat with no edge folding |
| 2. Print and proof | Review every certificate | Check names, dates, and spelling individually |
| 3. Insert | Slide certificate into interior pocket | Handle by edges; printed face toward front cover |
| 4. Label | Mark each folder with name and order number | Use removable labels for clean removal after the event |
| 5. Sort | Arrange in program sequence | Match folder order to the printed event program exactly |
| 6. Pre-stage | Place at presenter stations | Group by award category or seating section |
Pro Tip: Pre-staging folders by presentation order and applying a consistent numbering system for presenters crucially reduces ceremony day confusion. Number each folder on the label and provide presenters with a matching numbered list of recipient names.
How can event organizers avoid common mistakes with award folders?
Misordering certificates or using wrong-sized folders are the two most common preparation errors, and both lead to damaged documents or ceremony delays. Catching these problems before the event requires a deliberate review process, not a rushed final check.
The most frequent mistakes and how to prevent them:
- Wrong folder size: Always measure the printed certificate, not just the paper stock. Certificates with wide borders or landscape orientation may require a non-standard folder size. If multiple certificate formats exist in your organization, measure and confirm sizes explicitly rather than assuming a standard applies to all.
- Misordered certificates: Cross-reference your sorted folders against the event program at least twice. Assign this task to two different people to catch errors that a single reviewer might miss.
- Damaged folders from improper handling: Store assembled folders flat in a rigid box or crate. Never stack them loosely in a bag or lean them against a wall, as this causes bending and creasing along the spine.
- Presenter confusion during distribution: Brief every presenter and volunteer on the distribution workflow before the ceremony. Walk through the handoff sequence, including who calls names, who retrieves folders, and who hands them to recipients.
- Last-minute additions or changes: Freeze the recipient list at least 48 hours before the event. Changes made the morning of a ceremony are the leading cause of folder errors and missing documents.
“The folder is the first physical object a recipient holds when their name is called. A bent cover or a wrong name inside that folder is the detail they remember long after the applause fades.”
Secure transport is as important as careful assembly. Place folders upright in a divided box or use a flat transport tray. For large ceremonies, use labeled banker boxes organized by award category so volunteers can locate the correct group of folders without opening every box.
Key Takeaways
Preparing award folders with care, from material selection through ceremony day staging, is the single most reliable way to ensure every recipient receives a polished, accurate presentation.
| Point | Details |
|---|---|
| Match folder size to certificate | Confirm dimensions before ordering; A4 folders fit 210 x 297 mm documents only. |
| Choose material for the occasion | Leatherette suits formal events; sturdy cardstock works well for high-volume ceremonies. |
| Design certificates with authority | Include a seal or crest, two signature lines, and a clear award title hierarchy. |
| Assemble and label in program order | Number each folder and cross-reference against the event program twice before the ceremony. |
| Pre-stage and rehearse distribution | Place folders at presenter stations and brief all volunteers on the handoff workflow. |
What I have learned from years of award folder preparation
After working through dozens of recognition events, the detail that separates a smooth ceremony from a chaotic one is almost never the folder itself. It is the preparation that happened three days before the event. Organizers who confirm certificate dimensions early, lock their design templates, and sort folders the afternoon before the ceremony rarely face problems on the day. Organizers who leave assembly for the morning of the event almost always do.
The second lesson I would pass on is this: branding consistency on the folder cover matters more than most planners realize. When every folder in the room carries the same logo, the same foil color, and the same clean layout, the ceremony feels deliberate and institutional. Recipients notice. A folder that looks like it was assembled from mismatched supplies sends a different message, regardless of how meaningful the award itself may be.
The third lesson is about labeling. A simple numbering system on the back of each folder, matched to a numbered list in the presenter’s hand, eliminates the single biggest source of ceremony errors. It takes ten minutes to set up and saves far more time than it costs. Pair that with a document folder workflow that accounts for pre-staging by section, and you have a system that holds up even when the event runs ahead of schedule or a presenter steps away unexpectedly.
Patience in the assembly phase is not a soft skill. It is the most practical thing you can bring to a recognition event.
, Manager
Wehonoru’s presentation covers for your next award event
Every step covered in this guide depends on one foundational decision: the quality of the folder itself. A well-designed certificate placed inside a folder that bends, fades, or fails to close properly undermines the entire effort.
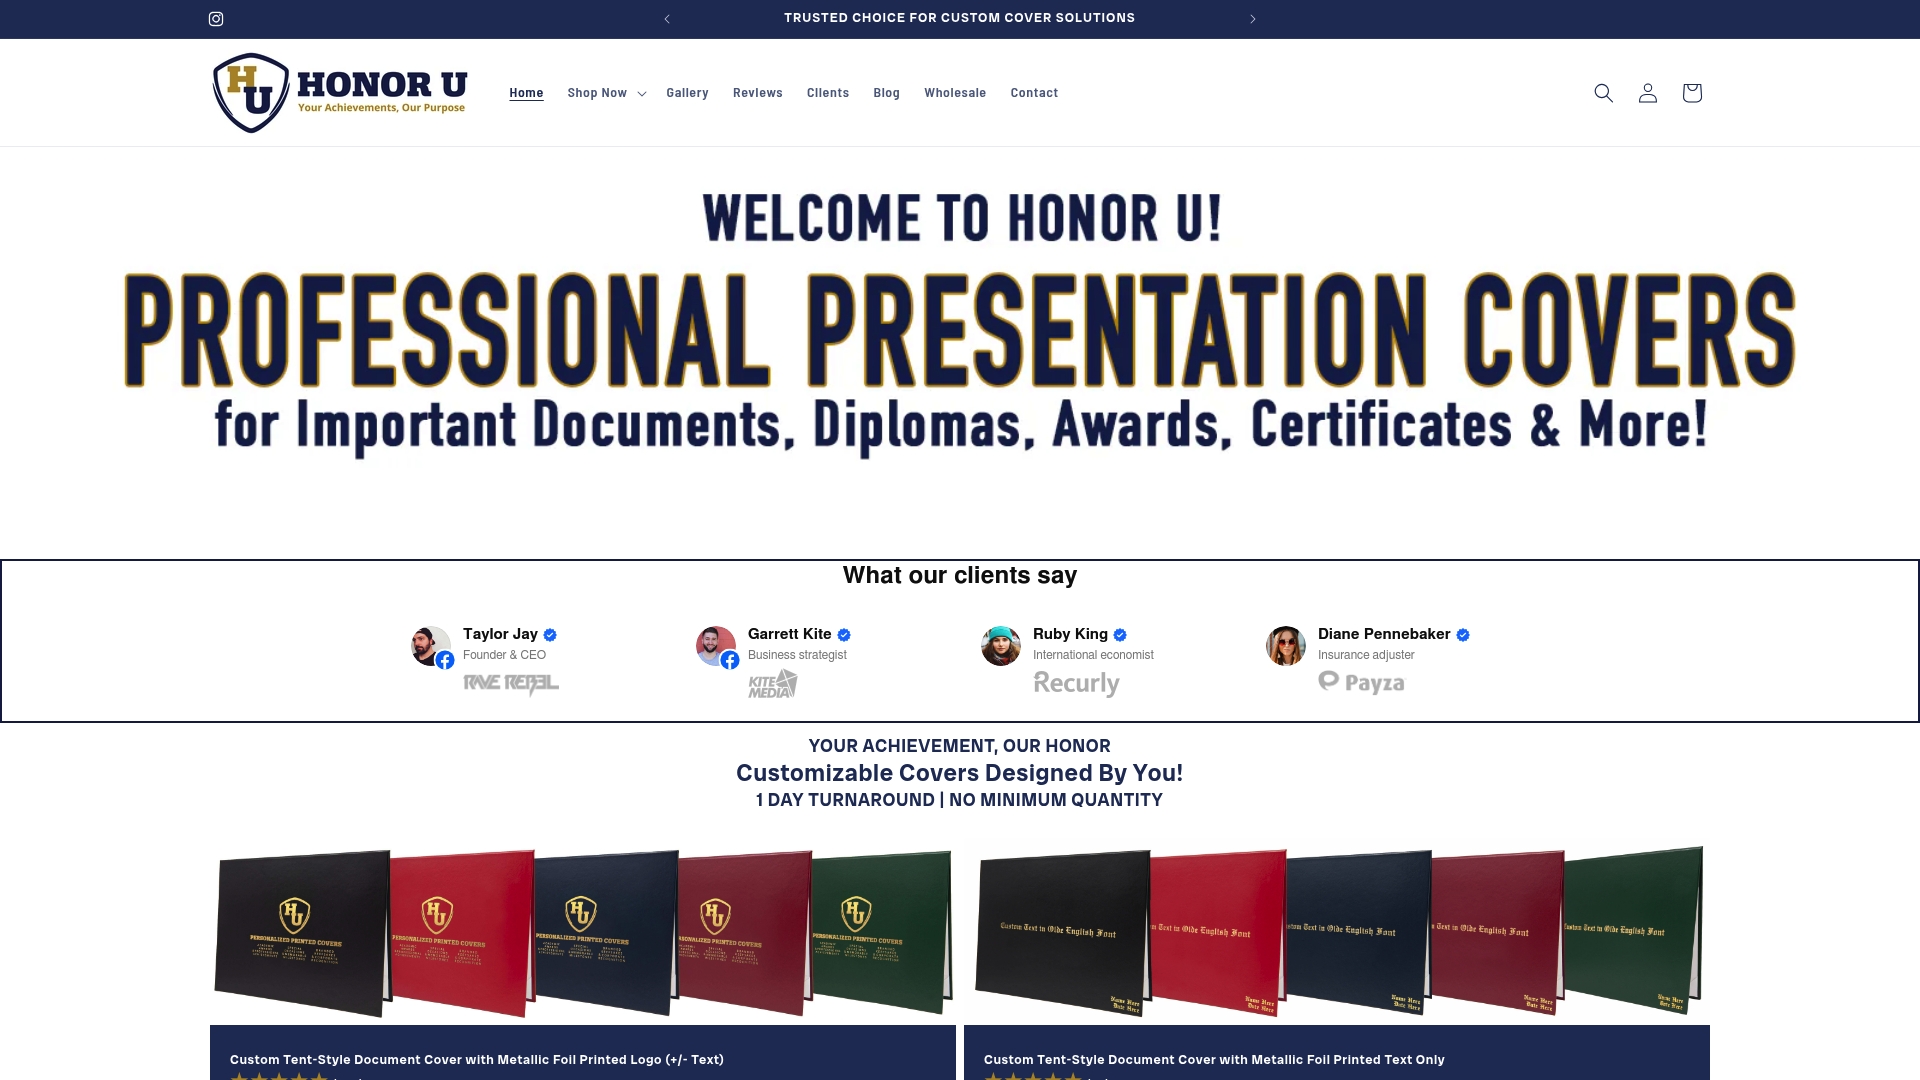
Wehonoru’s classic tent-style diploma covers are built for exactly this purpose. They are durable, elegantly finished, and available with custom metallic foil printing so your organization’s logo or event name appears on every cover. Orders ship in one business day with no minimum quantity, which means you can order the exact number you need, whether that is five folders for a department award or five hundred for a graduation ceremony. For year-specific events, the Class of graduation cover adds a personalized touch that recipients keep long after the ceremony ends.

FAQ
What size folder fits a standard certificate?
Most standard certificates print on letter-size paper (8.5 x 11 inches) or A4 paper (210 x 297 mm). Always measure your printed certificate and confirm the folder dimensions match before ordering.
What is the best material for award folders?
Leatherette folders offer a premium, durable finish suited to formal ceremonies and executive awards. Sturdy cardstock folders are a reliable, cost-effective choice for high-volume school or corporate events.
How do I keep certificates from getting damaged inside folders?
Use folders with interior slits or pockets that hold the certificate flat. Store assembled folders upright in a rigid box and handle each folder by its edges to prevent bending and fingerprints.
How should I organize folders for a large ceremony?
Sort folders in the exact sequence of the event program, label each one with the recipient’s name and order number, and pre-stage them at presenter stations grouped by award category or seating section.
Which design tools work best for creating award certificates?
Canva works well for small batches using pre-built templates. Word or Google Docs mail merge is the most efficient option for generating large quantities with unique recipient names. Adobe InDesign provides the most control for print-quality layouts.
Recommended
Taylor Pace writes Honor U guides. Blair Black reviews them. Honor U sells empty covers and holders.