
How to Create Made to Fit Document Covers

TL;DR:
- A made to fit document cover is custom-sized to the exact dimensions of a specific document, ensuring proper fit and protection. Precision measurement, archival-grade materials, and careful assembly are essential to prevent damage and guarantee quality. Proper storage and handling practices extend the lifespan of both the cover and the document inside.
A made to fit document cover is a custom-sized enclosure built to the exact dimensions of a specific diploma, certificate, or important document. Standard off-the-shelf covers fail whenever a document falls outside conventional letter or legal sizes, which happens more often than most people expect. Knowing how to create made to fit document covers correctly requires precision measurement, archival-grade materials, and a careful assembly process. This guide walks you through every step, from choosing the right stock to final finishing, so your covers protect and present your documents with the quality they deserve.
What materials and tools do you need for archival-quality custom document covers?
The foundation of any well-made custom document cover is the material. Archival-quality covers must be acid-free, buffered, and PVC-free to protect documents long-term against moisture, light, and chemical degradation. That single requirement eliminates most general craft supplies from consideration.
Choosing the right cover stock
Two material families dominate professional document cover production: synthetic poly and leather-grain paper stock. Synthetic poly covers range from 10mil to 55mil thickness and are water-resistant and tear-resistant, making them ideal for covers that will be handled repeatedly. Paper stocks for luxury covers typically run from 60lb to 90lb weight, offering a traditional, heirloom feel that suits diplomas and formal certificates. Your choice depends on how often the cover will be handled and whether display or storage is the primary purpose.
Store-bought plastic sleeves often contain PVC or vinyl, which releases gases that accelerate chemical breakdown in paper documents. Always verify that any plastic or poly material explicitly states “acid-free” and “PVC-free” before purchasing.
Essential tools for accurate work
Precision tools are not optional. A steel ruler, a bone folder, a sharp craft knife with fresh blades, and a self-healing cutting mat form the core toolkit. For measuring, digital calipers are the gold standard. A cutting system with a fixed guide rail produces cleaner edges than freehand cutting and reduces the risk of misaligned panels.
Pro Tip: Never substitute a fabric tape measure for a steel ruler or digital calipers. Fabric tape flexes under tension and introduces errors that compound across multiple panels.
Material comparison at a glance
| Material | Thickness / Weight | Key Benefit | Key Limitation |
|---|---|---|---|
| Synthetic poly (clear) | 10mil–55mil | Water-resistant, tear-resistant | Less formal appearance |
| Leather-grain paper | 60lb–90lb | Premium, heirloom aesthetic | Sensitive to humidity |
| Buffered archival board | 60pt–80pt | Rigid, chemically stable | Heavier, requires scoring |
| Mylar / polyester film | 3mil–5mil | Crystal-clear, inert, archival-safe | Higher cost per sheet |
How do you measure your document accurately for a perfect fit?
Measurement precision determines the success of a custom cover. Even a 1mm error can cause functional problems and damage the document over time. Measurement is the step most people rush, and it is the step that most often causes a finished cover to fail.
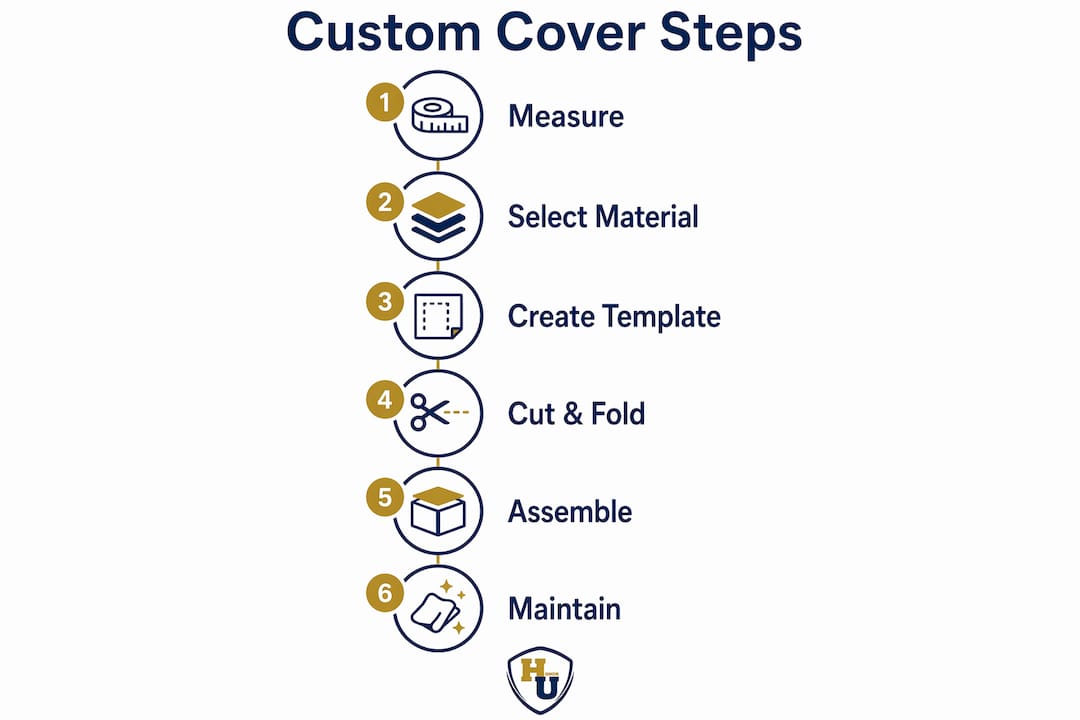
Step-by-step measurement procedure
Follow these steps in order. Do not skip the multiple-reading requirement.
- Lay the document flat on a clean, hard surface. Remove any existing sleeve or folder before measuring.
- Measure the height. Place your steel ruler along the left edge and record the measurement to the nearest 0.5mm or 0.125 inches.
- Measure the width. Run the ruler across the top edge. Record the same level of precision.
- Measure the thickness. Use digital calipers. Take three separate thickness readings at the spine, the center, and the fore-edge. Use the largest reading. This accounts for warping, embossed seals, or uneven paper stacking.
- Record all three dimensions in a dedicated notes file or worksheet before moving on.
- Add clearance margins. A standard wrap-style cover requires at least 0.125 inch of bleed margin on each side. This prevents the cover from gripping the document too tightly.
- Account for environmental change. Paper-based covers swell or shrink with humidity, so the industry standard is to oversize by approximately 1/8 inch to accommodate those shifts.
- Re-measure once more before cutting any material. A second pass catches transposition errors and confirms your numbers.
Handling irregular documents
Some diplomas carry embossed university seals, raised notary stamps, or multi-page inserts. Measure with all accompanying elements included and allow extra clearance to accommodate the added thickness. A cover sized only to the flat sheet will buckle or warp once the embossed seal pushes against the interior panel.
Pro Tip: When using digital calipers, rest them gently against the document surface. Do not squeeze. Compression gives a false low reading and produces a cover that is too tight.
For a deeper look at exact sizing calculations, Wehonoru’s guide on custom sizing for document covers covers the math behind clearance and bleed in detail.
How do you design and assemble a made to fit document cover?
Design and assembly translate your measurements into a finished product. The process requires patience and a methodical approach. Rushing the cutting or adhesive stages is the most common cause of covers that look handmade in the wrong sense of the word.
Creating your template
Start with a digital or paper template that reflects your final cut dimensions, including all clearance margins and bleed areas. Digital design tools and templates help create covers that fit perfectly by accounting for trim, spine, bleed, and clearance dimensions simultaneously. Keep all text and decorative elements at least 0.25 inches inside the trim line. This “safe zone” prevents content from being lost during cutting.
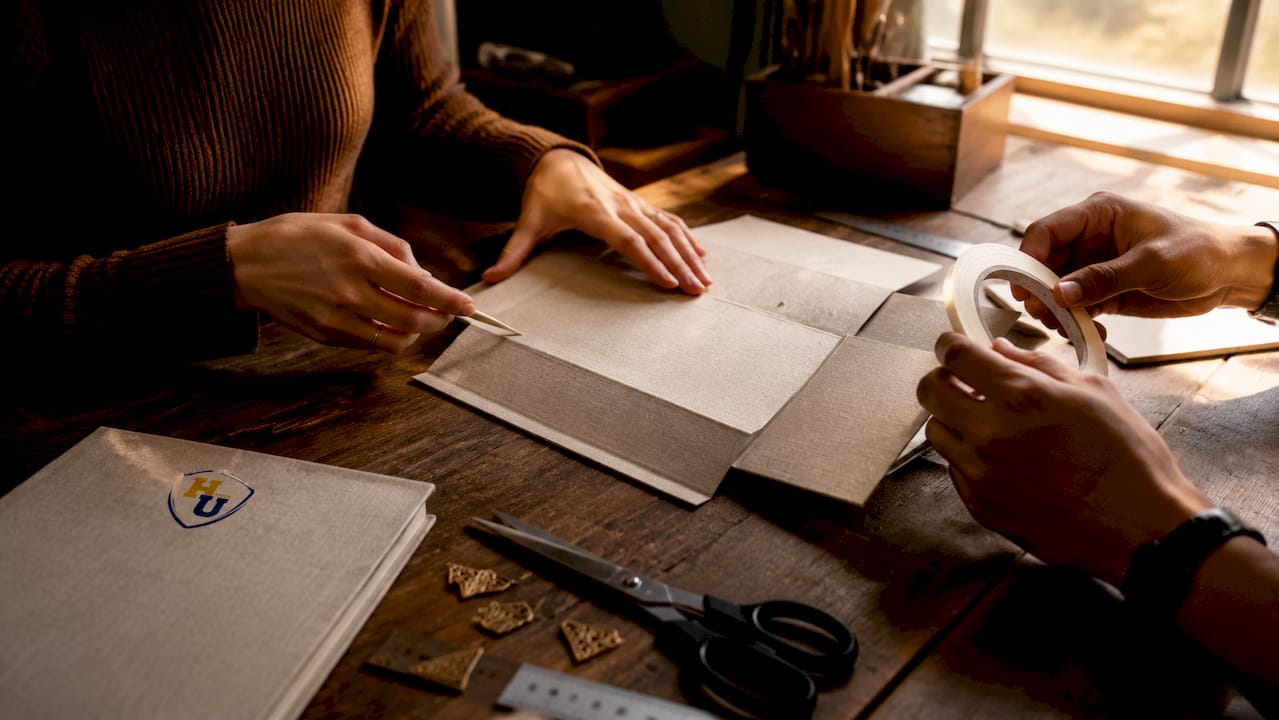
If you are working by hand, draw the template directly onto the back of your cover stock using a fine mechanical pencil. Mark panel lines, fold lines, and bleed boundaries clearly before picking up a blade.
Assembly steps
- Score fold lines first. Run a bone folder along every fold line against a steel ruler. Scoring prevents cracking on heavier stocks and produces a clean, sharp fold.
- Cut panels in sequence. Cut the largest panels first, then trim smaller elements from the remaining material. This reduces waste and keeps offcuts useful.
- Test-fit before adhering. Fold the cover around the actual document and check for fit. The document should slide in and out without force and without rattling.
- Apply archival-safe adhesives or closures. Adhesives must never contact the document surface directly. Use reversible, archival-safe enclosures. Reversibility is a core principle of archival conservation because it allows future removal without permanent alteration.
- Add decorative finishing. Foil stamping, embossing, or printed inserts can be added to the outer panels without compromising archival integrity, provided the materials used are chemically stable. Wehonoru specializes in metallic foil printing on document covers, which adds prestige without introducing harmful chemicals.
- Allow adhesives to cure fully before inserting the document. Most archival adhesives require 24 hours at room temperature.
Troubleshooting common assembly problems
A cover that gaps at the spine usually means the thickness measurement was too low. Add a thin strip of archival board to the spine panel to fill the gap. A cover that bows outward after assembly typically indicates the outer stock is too heavy for the spine width. Switch to a lighter-weight stock or reduce the panel count. If corners lift after folding, the scoring was too shallow. Re-score with firmer pressure before re-folding.
For a full walkthrough with institutional examples, Wehonoru’s step-by-step custom document cover guide provides detailed instructions suited to both individual and bulk production needs.
How do you care for and maintain your custom document covers?
A well-made cover protects its document only as long as the cover itself is properly maintained. Storage conditions and handling habits determine whether a diploma or certificate survives decades or deteriorates within years.
Key maintenance practices include:
- Store covers upright or flat depending on condition. Mylar or polyester sleeves protect fragile documents, and vertical storage suits stable documents while flat storage is better for fragile or warped items.
- Keep covers away from direct light. Ultraviolet exposure fades both the cover material and the document inside. Store in a dark drawer, archival box, or display case with UV-filtering glass.
- Control humidity and temperature. Stable conditions between 65°F and 70°F with relative humidity between 30% and 50% are the archival standard for paper-based documents.
- Handle covers with clean, dry hands. Skin oils transfer to paper stocks and accelerate surface degradation. Cotton gloves are appropriate for high-value documents.
- Avoid non-archival repair materials. Standard adhesive tape, rubber bands, and paper clips all cause long-term damage. Use only acid-free, buffered repair materials if a cover needs mending.
- Inspect covers annually. Check for yellowing, brittleness, or off-gassing odors, which signal chemical instability. Replace any cover showing these signs before the document is affected.
- Never store covers in basements or attics. These spaces experience the widest humidity and temperature swings, which are the primary enemies of paper preservation.
For guidance on selecting covers that meet these storage standards from the start, Wehonoru’s resource on document cover selection for diplomas outlines which materials hold up best over time.
Educational institutions that present certificates and awards to students can also find useful context on how other organizations approach protecting certificates and awards for long-term display.
Key Takeaways
Creating made to fit document covers requires accurate measurement, archival materials, and careful assembly. Every shortcut in any of these three areas produces a cover that either damages the document or fails to present it with the quality it deserves.
| Point | Details |
|---|---|
| Measure with precision | Take three thickness readings and add at least 0.125 inch of clearance on each side. |
| Use archival materials | Select acid-free, buffered, and PVC-free stocks to prevent long-term chemical damage. |
| Score before folding | Always score fold lines with a bone folder to prevent cracking on heavier cover stocks. |
| Keep adhesives off documents | Use reversible, archival-safe enclosures so the document can be removed without damage. |
| Maintain storage conditions | Store covers away from light and humidity fluctuations to preserve both cover and document. |
What I have learned from years of working with custom document covers
The single most common mistake I see is treating measurement as a formality rather than a craft. People measure once, cut immediately, and then wonder why the finished cover is either too tight or too loose. The 0.125 inch bleed margin is not a suggestion. It is the minimum that separates a cover that works from one that buckles the document over time.
Material selection is the second place where good intentions go wrong. Many people choose a cover stock based on how it looks in a sample photo rather than what it is made of. A beautiful leather-grain paper that contains no acid-free certification will yellow and transfer acidity to the diploma inside within a decade. The heirloom feel you wanted becomes the mechanism of degradation. Always ask for the material specification sheet before purchasing any cover stock.
The assembly stage rewards patience more than skill. I have seen experienced crafters ruin a perfectly measured and cut cover by rushing the adhesive cure time. Twenty-four hours feels like a long wait, but it is far shorter than the time it takes to remake a cover after the panels shift during final assembly.
One thing I genuinely appreciate about the direction Wehonoru has taken with its made-to-fit products is the commitment to non-standard dimensions. Most production suppliers default to letter and legal sizes because they are operationally convenient. The reality is that military commendations, trade school completions, and religious ordination certificates rarely conform to those dimensions. A cover that fits the document exactly is not a luxury. It is the baseline standard that every important document deserves.
My honest recommendation: invest in a pair of digital calipers before you invest in premium cover stock. The measurement tool determines the outcome more than the material does.
— Manager
Wehonoru’s tent-style covers for diplomas and certificates
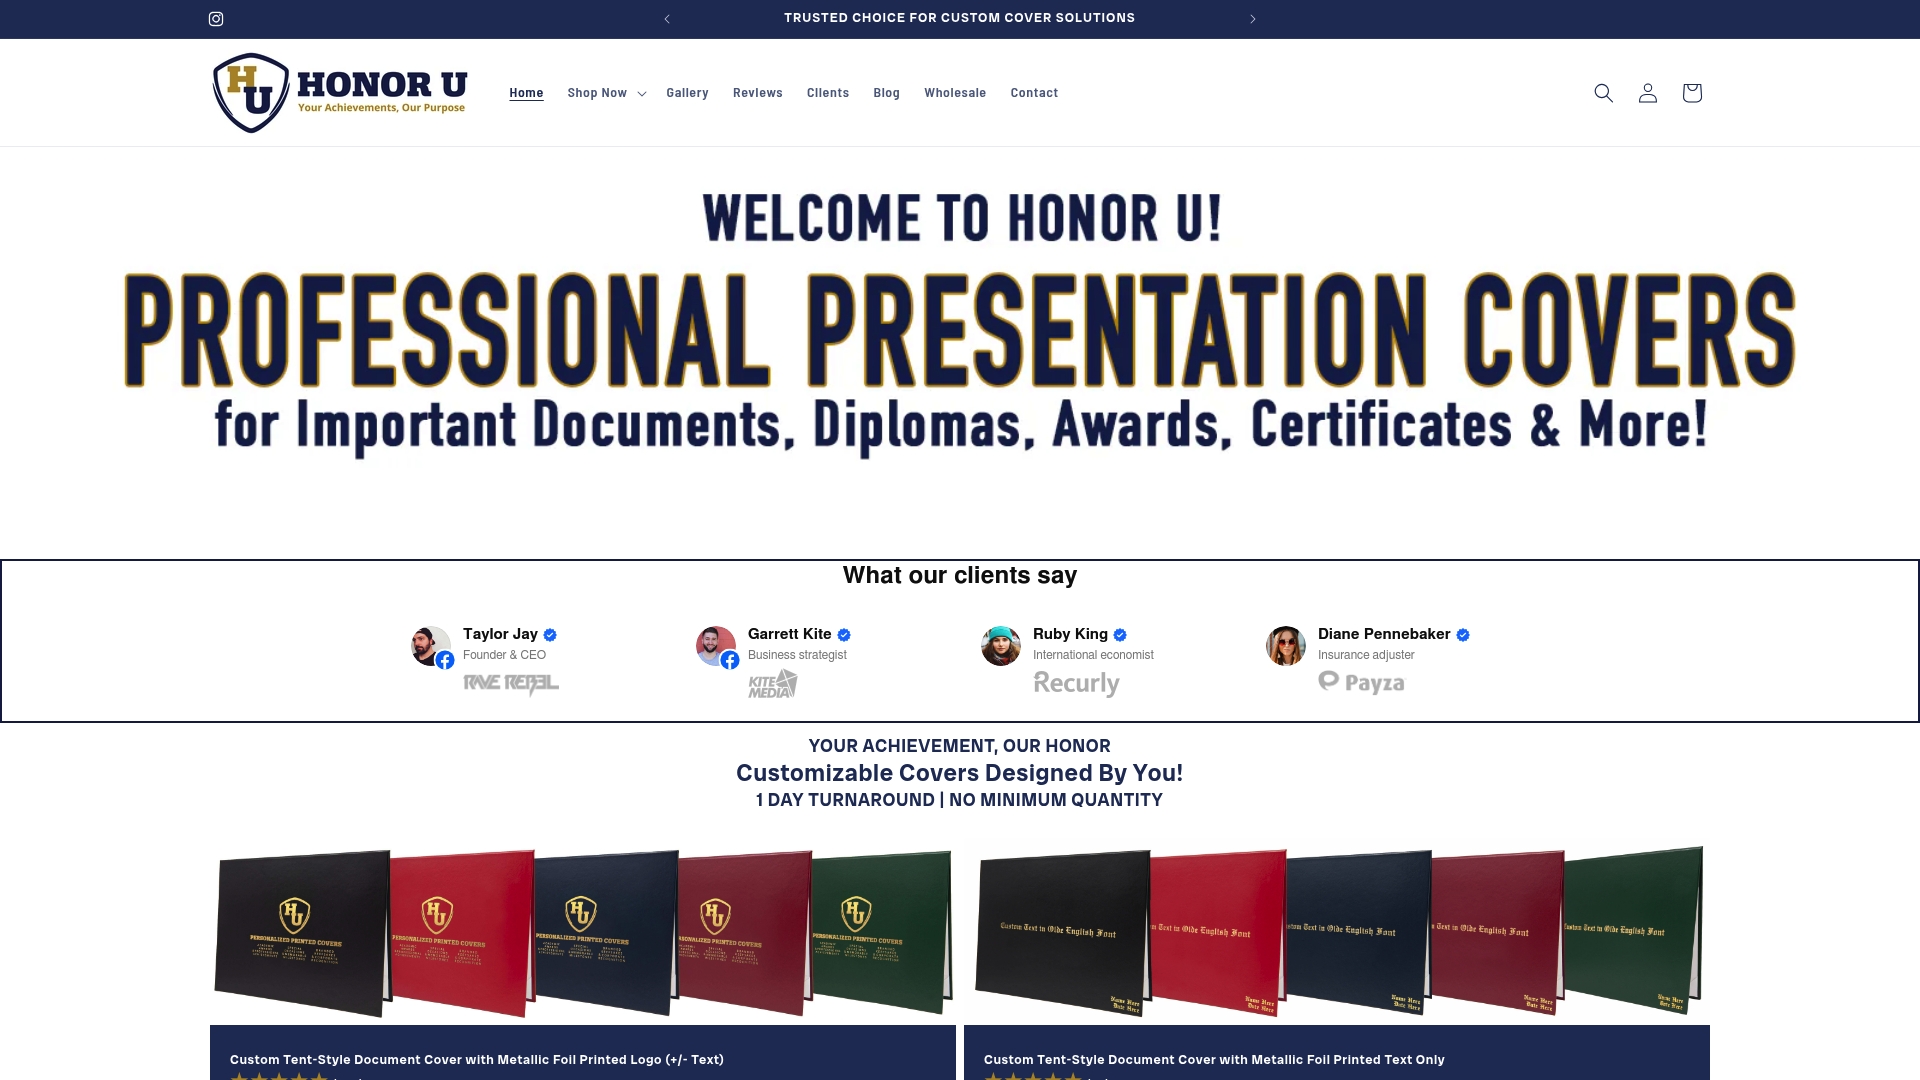
Wehonoru produces tent-style document covers built for diplomas, graduation certificates, and formal awards. The Classic Diploma of Graduation tent-style cover uses chemically stable materials with metallic foil printing, meeting the archival standards this guide describes. For graduating classes, the graduation year tent-style cover adds a personalized “Class of” designation with the same foil quality. Both products ship the next business day with no minimum order quantity, making them practical for a single graduate or an entire institution. Orders over $30 ship free.
FAQ
What does “made to fit” mean for document covers?
A made to fit document cover is sized to the exact dimensions of a specific document rather than a standard format. It requires precise measurement and custom cutting to ensure a proper fit without compressing or damaging the document inside.
What materials are safe for long-term diploma storage?
Acid-free, buffered, and PVC-free materials are the archival standard for long-term document preservation. Avoid PVC or vinyl sleeves, which release gases that accelerate paper degradation over time.
How much clearance should I add when sizing a custom cover?
Add at least 0.125 inches of clearance on each side of the document. For paper-based cover stocks, oversizing by approximately 1/8 inch also accounts for humidity-related swelling and shrinkage.
Can I use regular craft adhesives to assemble a document cover?
Regular craft adhesives are not suitable for archival document covers. Use reversible, archival-safe adhesives or mechanical closures that allow the document to be removed in the future without permanent alteration.
How do I measure a document with an embossed seal or raised stamp?
Measure the document with all raised elements in place and use digital calipers to take three thickness readings at different points. Use the largest reading to size the cover, and add extra clearance to prevent the cover from pressing against the embossed area.